
Smoked Beer Can Chicken: 5 Secrets to Perfect Flavor
Table of Contents
✨ Introduction
Picture this: It’s a warm weekend afternoon, your friends are coming over, and you’re craving something beyond the ordinary backyard grill fare. Darling, let me share the smoky, juicy miracle that changed my summer entertaining game forever—smoked beer can chicken. This isn’t just quick chicken—it’s a flavor revelation that delivers the most tender, succulent bird you’ve ever experienced.
When I first discovered beer can chicken recipe techniques, I was skeptical. Could a humble can of beer really transform an ordinary chicken into something extraordinary? After perfecting my method through countless weekend cookouts (and a few delicious failures), I’m here to share the five essential secrets that guarantee smoked beer can chicken perfection every single time.
🌟 Why You’ll Love This Recipe
Before we dive into the how-to, let me share why this smoked beer can chicken method deserves a permanent spot in your cooking repertoire:
💫 Juiciest chicken you’ll ever taste—no more dried-out disappointments!
🌿 Infused with complex smoky flavors that store-bought rotisserie can’t touch
👩🍳 Impressive presentation that looks professional with minimal effort
💕 Customizable flavor profiles to match your mood and occasion
✨ The perfect excuse to enjoy a beer while cooking (one for the chicken, one for the chef!)
The beauty of beer can chicken recipe methods lies in the science behind the technique. The beer creates steam inside the cavity, keeping the meat moist while the outside develops that gorgeous smoky crust we all crave.
🛒 Ingredients

The Star Players
| Essentials | Details |
|---|---|
| 1 whole chicken (4-5 pounds) | Room temperature, patted dry |
| 1 can of beer (12 oz) | Lager works beautifully, but experiment! |
| 3 tablespoons olive oil | Extra virgin for best flavor |
| Homemade Dry Rub | See magical blend below |
The Magic Rub
| Spices | Amount |
|---|---|
| Brown sugar | 2 tablespoons |
| Smoked paprika | 1 tablespoon |
| Garlic powder | 1 tablespoon |
| Onion powder | 1 tablespoon |
| Dried thyme | 1 teaspoon |
| Cumin | 1 teaspoon |
| Salt | 1 tablespoon |
| Black pepper | 1 teaspoon |
No smoked paprika? Regular paprika with a touch of liquid smoke adds the same beautiful depth!
⏳ Timing
Total time: 2.5 hours (aka the perfect duration for catching up on your favorite podcast or sipping rosé in the garden)
| Preparation | 20 minutes |
|---|---|
| Smoking time | 2 hours |
| Resting time | 10 minutes |
👩🍳 Step-by-Step Secret Techniques
Step 1: Prepare Your Chicken
Start with a quality bird, darlings. Remove giblets and pat the chicken completely dry with paper towels—this is essential for crispy skin! Let it sit at room temperature for about 30 minutes before prepping.
Psst: Skipping the drying step results in steam rather than crispy deliciousness. Take the extra minute—your taste buds will thank you!
Step 2: Create Your Flavor Base
Mix all your dry rub ingredients together in a small bowl. The brown sugar helps create that gorgeous caramelized exterior while balancing the savory elements.
Drizzle olive oil all over the chicken, then massage your rub generously over every inch—yes, even under the wings and inside the cavity! This is no time for restraint, queen. The oil helps the rub adhere and creates that beautiful bark as it smokes.
Step 3: Prepare The Beer Can (Secret #1)
Here’s where the magic begins! Open your beer can and drink (or pour out) about one-third. This creates headspace for the steam to develop.
For extra flavor, add these game-changers to your beer can:
- 2 crushed garlic cloves
- 1 sprig fresh rosemary
- 1 tablespoon butter
These additions infuse the steam with rich flavor that penetrates the meat from the inside out, making your smoked beer can chicken exceptionally fragrant.
Step 4: The Perfect Marriage (Secret #2)
Place the beer can on a stable surface and gently lower your chicken onto it, allowing the can to fit into the cavity. Position the legs forward to create a tripod effect with the can—this stability is crucial for the vertical cooking position.
Stability tip: If you’re nervous about balance, invest in a beer can chicken holder. They’re inexpensive and make the process foolproof!
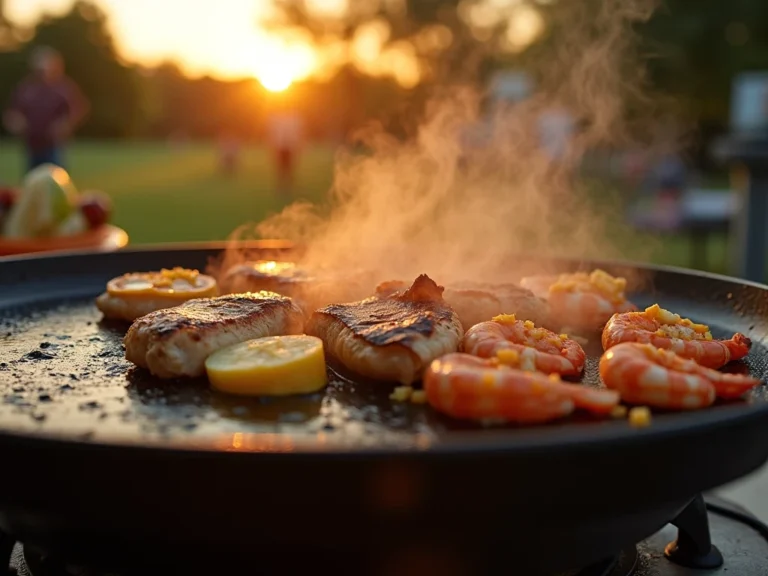
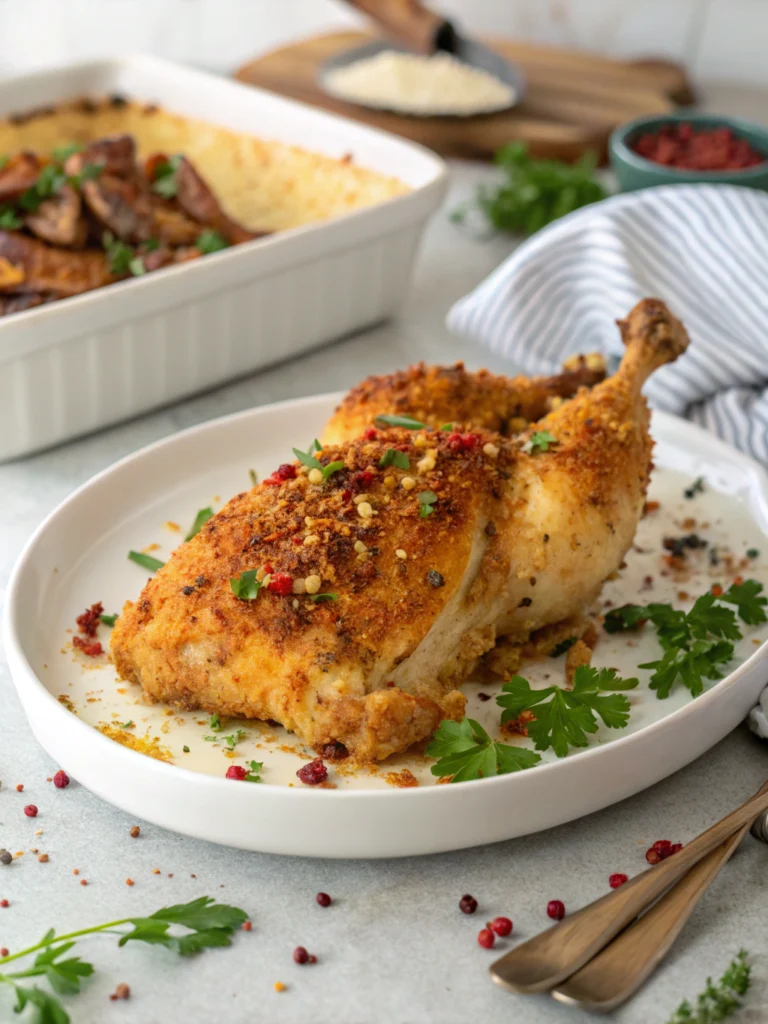
Step 5: Master The Smoking Technique (Secret #3)
Preheat your smoker to 275°F (135°C)—this slightly lower temperature is Secret #3! While many recipes call for 300-325°F, the lower temperature allows for slower rendering of fat and more smoke penetration.
Add your choice of wood chips—apple or cherry wood complements chicken beautifully with subtle sweetness, while hickory provides a more robust profile.
Step 6: Placement Matters (Secret #4)
Position your chicken away from direct heat in your smoker. Carefully transfer your chicken (standing proudly on its beer can throne) to the smoker.
For ultimate flavor development, place a small aluminum pan beneath the chicken to catch drippings. Add 1 cup of apple juice to this pan—as it heats, it creates a flavor-enhancing steam that keeps your smoking environment perfect for your smoked beer can chicken.
Step 7: The Patience Game
Smoke your chicken until it reaches an internal temperature of 165°F (74°C) in the thickest part of the thigh. This typically takes about 2 hours for a 4-pound chicken, but always rely on temperature, not time!
No peeking too often! Every time you open your smoker, you lose heat and extend cooking time.
Step 8: The Essential Rest (Secret #5)
Here’s the step most people rush: Once your chicken reaches temperature, carefully remove it from the smoker (the can will be hot!) and let it rest, still on the can, for 10 minutes.
Then, using heat-resistant gloves, carefully remove the can and let the chicken rest an additional 5-10 minutes before carving. This resting period allows juices to redistribute throughout the meat, resulting in the moistest smoked beer can chicken you’ve ever tasted.
🌱 Healthier Twists
“Light & Bright”
- Use a lite beer to reduce calories
- Replace brown sugar with monk fruit sweetener in your rub
- Remove the skin after cooking (though you’ll lose some of that delicious flavor!)
“Flavor Forward”
- Try a non-alcoholic craft beer for complex flavor without alcohol
- Use a can of lemon-lime soda instead of beer for a family-friendly version
- Replace the beer with apple cider for a sweet-tart autumn variation
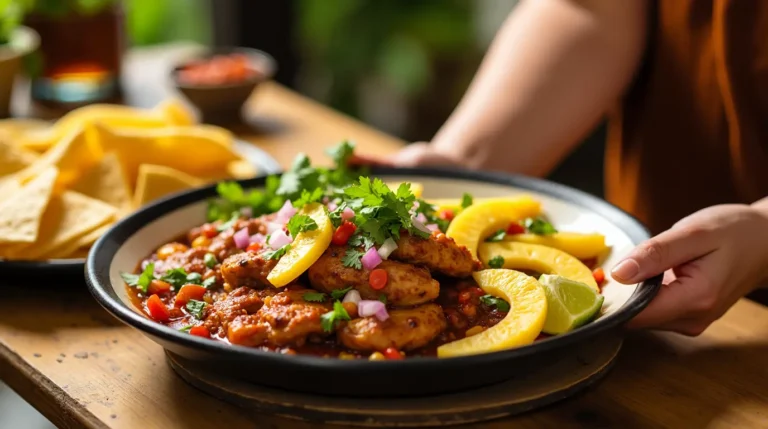
🍽️ Serving Suggestions
For a Sunday Family Feast:
Pair with grilled corn on the cob, a bright arugula salad, and crusty sourdough bread. Set the table with wildflowers and colorful napkins for an effortless but gorgeous presentation.
For Impressing Guests:
Serve your beer can chicken recipe creation alongside roasted fingerling potatoes, grilled asparagus, and a chilled bottle of Pinot Grigio. Add a lemon-herb butter on the side for drizzling over the sliced chicken.
❌ Common Mistakes
Temperature Troubles
Rushing the process with higher heat = dry exterior, undercooked interior. Low and slow wins this race, darling!
Seasoning Shyness
Be generous with your rub! The smoker mellows flavors, so what seems like a lot initially will be perfect in the end.
Neglecting The Thermometer
Visual cues can be deceiving—always use a reliable meat thermometer to ensure food safety and optimal juiciness.
🧊 Storage Tips
“Fridge Fairy” (3-4 days)
Store leftover chicken in an airtight container. Pro tip: save any juices and drizzle them over the meat before storing to maintain moisture.
“Freezer Goddess” (2-3 months)
Remove meat from bones, portion into meal-sized servings, and store in freezer-safe bags with all air removed. Thaw overnight in the refrigerator for best texture.
💬 FAQs
Can I use any type of beer?
Absolutely, darling! Different beers create different flavor profiles. Lagers and ales work wonderfully, while stouts and porters create more robust, almost coffee-like notes. Avoid super-hoppy IPAs as they can introduce bitterness.
What if I don’t have a smoker?
No smoker? No problem! You can achieve similar (though not identical) results using a charcoal grill with indirect heat and wood chips in a foil pouch for smoke.
How do I know when the chicken is done without a thermometer?
While I highly recommend a thermometer for perfect results, in a pinch, you can check if the juices run clear when you pierce the thigh. The leg should also move easily in the joint.
Can I prep this in advance for a party?
You can prepare the dry rub and season the chicken up to 24 hours in advance (store covered in the refrigerator). This actually creates even better flavor as the seasonings have time to penetrate the meat!
🌸 Conclusion
Darlings, mastering smoked beer can chicken is one of those cooking skills that elevates you from casual griller to backyard culinary goddess. With these five secrets—specialized beer can additions, stable positioning, lower smoking temperature, strategic placement, and proper resting—you’ll create the juiciest, most flavorful chicken your friends and family have ever tasted.
The beauty of this method is how it combines simplicity with spectacle. There’s something undeniably impressive about presenting a perfectly bronzed, standing chicken at your table—it’s rustic elegance at its finest.
I live for your kitchen wins! Tag me @ComidaPollo so I can celebrate your smoky successes. And remember, cooking is about joy as much as it is about flavor—so pour yourself that second beer and enjoy the process! 💕